
I’ve been itching to deploy vSphere 6.0 GA for weeks now (since it was launched last month – wanted to replace my vSphere 6.0 Beta environment) but due to work commitments I’ve had to put this pet-project on the back-burner….. really hate when vendors release new toys at the end of quarter as it means I can’t get to play with it for a month or so!! >_<”
Installing and upgrading the vCSA 6.0 is significantly different than previous releases, it no longer gets distributed as an OVA which means you don’t use the OVF import in vSphere Client that we’re all so used to doing! Instead, vCSA 6.0 gets distributed as an ISO image – which is a bit weird for an appliance!
Hmm…. “So how do I deploy it?” is the most obvious question that most end-users will ask…. Well, you pretty much have to mount the ISO image onto your workstation/laptop/desktop/VM and then run the installation from the mounted drive…..
You may think that it’s a bit of a pain, but the installation process is quite simple and the wizard is very intuitive!
But why would VMware do away with the OVA package?!?
Well if I was to make an educated guess then this could be because they want to phase out the vSphere C# Client, and if you aren’t able to client onto your newly created host then how do you deploy an OVA?
For example, in a freshly installed ESXi host there’s no easy way to manage it without either a vSphere Client or a vCenter Server – at present you can’t open a web-client to the host in order to manage it (see below screenshot of the ESXi hosts’ landing page), so it makes sense to do away with the OVA deployment method and design it so you can mount the installation package for deployment of the vCSA without having to import the OVA via the soon-to-be-retired (maybe) vSphere client!

Now there’s two ways you can install vCSA 6.0 – Guided or Scripted. For ease of deployment, I’m going to discuss the Guided approach using the installation wizard. The Scripted approach is aimed at people who wish to automate the deployment of (several) vCSAs.
So before we get started, there are certain pre-requisites which must be completed prior to deploying the vCSA (in addition to what is listed in the documentation)
- Ensure that the hostname being assigned to the vCSA is in DNS, ideally both forward and reverse lookup. This will help with the installation process (I won’t go into the reasoning or what happens as several people have already posted online to mention the installation could fail if no DNS entry can be found).
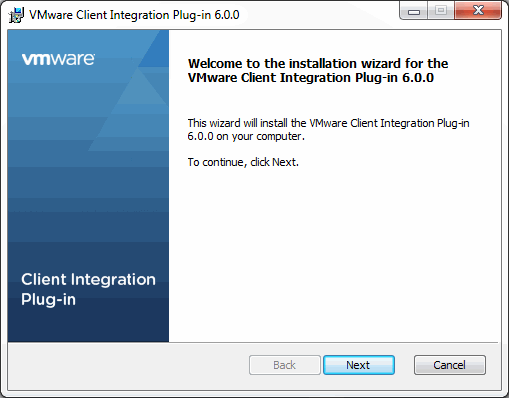
- Ensure you install the Client Integration Plug-in before running the installation – the installer will not run without it installed! (This is both for fresh installs and upgrades!)

- Do not input more than 1 DNS server (even though the installer prompts that you can). This will cause the installer to fail – as pointed out in the Release Notes.
- Ensure you enter the network settings correctly, as there is no pre-check function available and any errors will lead to firstboot errors – again, as pointed out in the Release Notes!
Especially watch out for VLAN configuration errors, ensure the vCSA is on the correct VLAN and it’s routable to the machine you’re deploying from (as well as the ESXi host itself).
Right, now you’re ready to mount the ISO on your deployment device (my case – my Win 7 laptop) and start the installation process! In my case I’m using MagicDisc to mount the ISO.
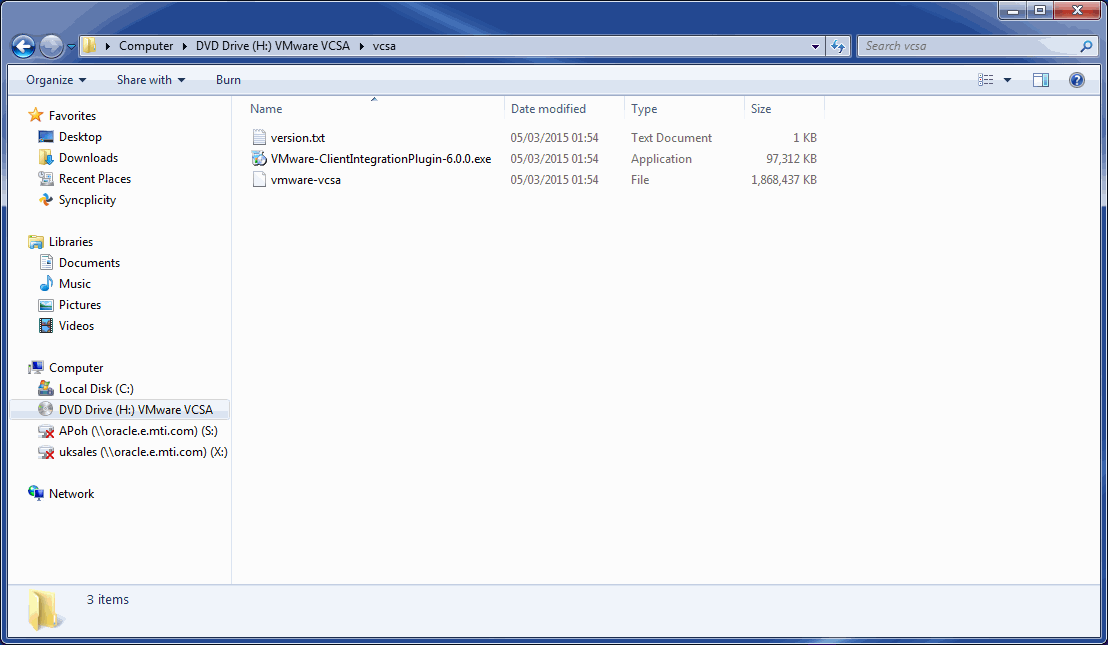
First up, install the Client Integration Plug-In which is found in vcsa directory.
Next launch the setup via the vcsa-setup.html file:

This will open up a webpage which will prompt you to allow the client integration plug-in to run, the screens below are for Chrome (left) and IE (right):


Next hit the Install button:

Accept the EULA and enter the ESXi host information where you are going to deploy the vCSA, accept any certification warnings:


Enter the FQDN for the appliance and the new root password.

Next choose the deployment type. In my case I want to deploy the embedded PSC. I won’t go into the technicalities of what the PSC is, and the different deployment scenarios – if you wish to learn more than head along to Derek Seaman’s site which explains the PSC in more detail!

Next enter the SSO password and domain details.

Select the appliance size based on your virtual environment (number of hosts and VMs)

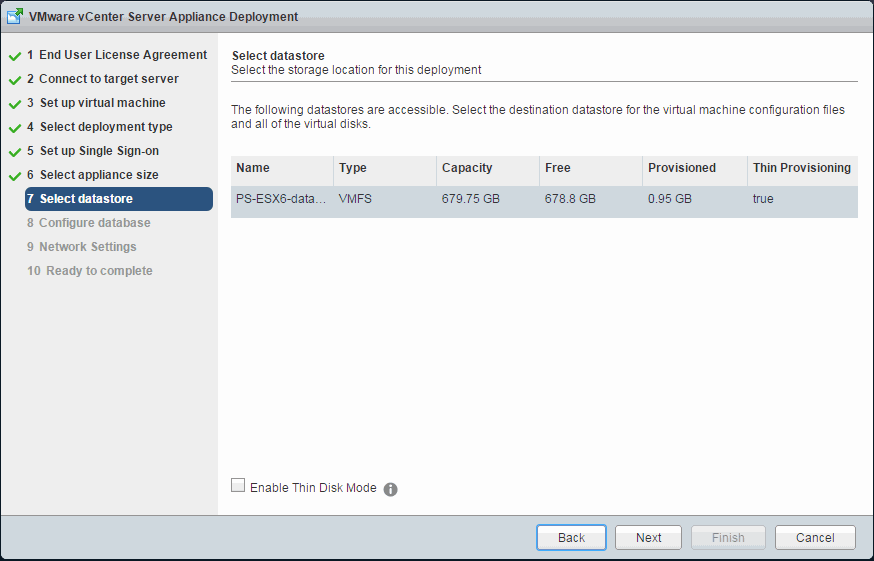
Select the datastore you wish to deploy the appliance on
Choose whether to use the internal vPostgres DB or an external Oracle DB

Input the network configuration details, ensuring the FQDN is resolvable in DNS. Pay attention to the NTP server, especially if deploying/connecting to another PSC – if they’re out of sync, it could cause installation issues!

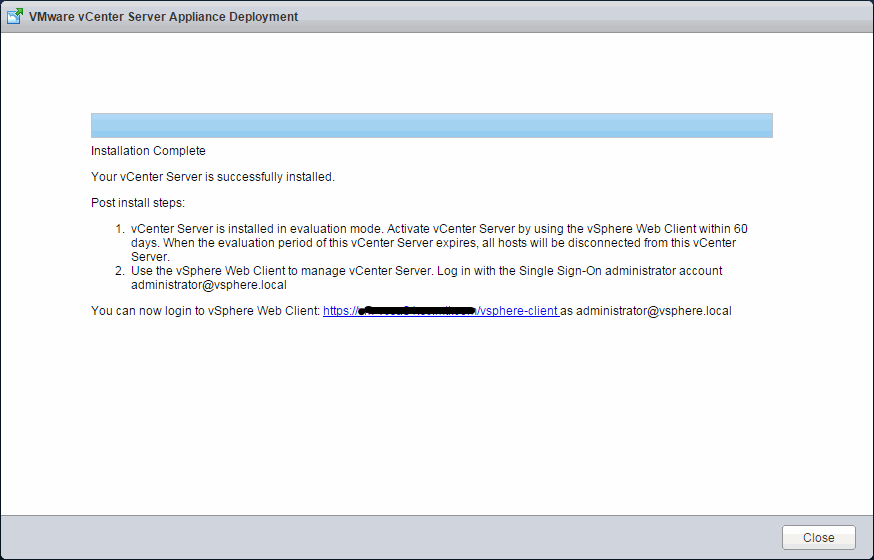
Review the configurations and click Finish to start the installation.

Once complete, the installation wizard will give you the details to connect to the web client, the URL will be https://fqdn/vsphere-client (no more port number required at the end of the url!!). Remember, if you’ve changed the SSO domain earlier, then the login user will be administrator@SSO-Domain

Now that the vCSA has been deployed, there is a new way of joining it to an Active Directory Domain, which will help you configure the Identity Sources for SSO. Log into the web client and then on the home page select System Configuration.

Under System Configuration, click Nodes and then select the vCenter Server and click the Manage tab.
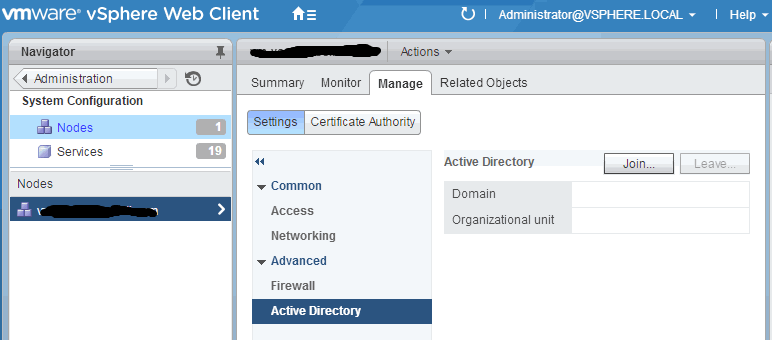
Under Advanced, select Active Directory, and click Join. Type in the Active Directory details. Note: The User name must be in User Principle Name (UPN) format – eg joebloggs@acme.com.

Click OK to join the vCenter Server Appliance to the Active Directory domain. Now Right-click the node you edited and select Reboot to restart the appliance so that the changes are applied.

Now you can add in the domain as a SSO Identity Source as you would usually do. However, you can choose Active Directory (Integrated Windows Authentication) and it should populate the domain details and pick up the information from when you joined the vCSA to the domain.

For more information, point your browsers to the vCenter Server 6.0 Deployment Guide.
